How to Feed Webcam Image to Caffe C
How to read images, video, webcam and screen in OpenCV — image analysis for beginners
Step by step guide on how to read images for OpenCV to process
OpenCV is a great tool for getting information from images. In this series, we'll learn how to process and analyze images so that we can detect movement, patterns, templates and even read texts. Before all that, however, we need images to analyze and that's what this article is about.
We'll check out 4 methods of obtaining images for OpenCV to analyze and go through each of them step by step. In the end, you'll be able to:
- load an image
- load a video file
- read your webcam
- read your screen
- adjust colors
We'll use this knowledge in the next parts of this series to create some beautiful analyses.
Setup
In this part we'll install our dependencies and get OpenCV up and running. The goal is to have an image that we can use. We only need to install two dependencies: OpenCV and PIL (Python Image Library). Install them with:
pip install opencv-python pillow
Reading images
We'll start by simply reading an image from a file. Next we go about "filming" our screen. We can use this for analyzing the images we see on the screen (we'll get into this later). Lastly we'll start reading images from our webcam and from a video file.
1. Loading a file
First we import OpenCV on line 1 (cv2 is OpenCV's module name in the Python implementation).
            import cv2            img = cv2.imread(filename="c:/path/to/image.png")
cv2.imshow('image', img)
cv2.waitKey(0)
cv2.destroyAllWindows()
In line 3 we load an image and in the next line, we tell cv2 to show it to us. Line 5 tells cv2 to wait for a button press (any button). Without this line, the image will be closed immediately after cv2 shows it. The last line is for cleaning up all open windows. This is the result:
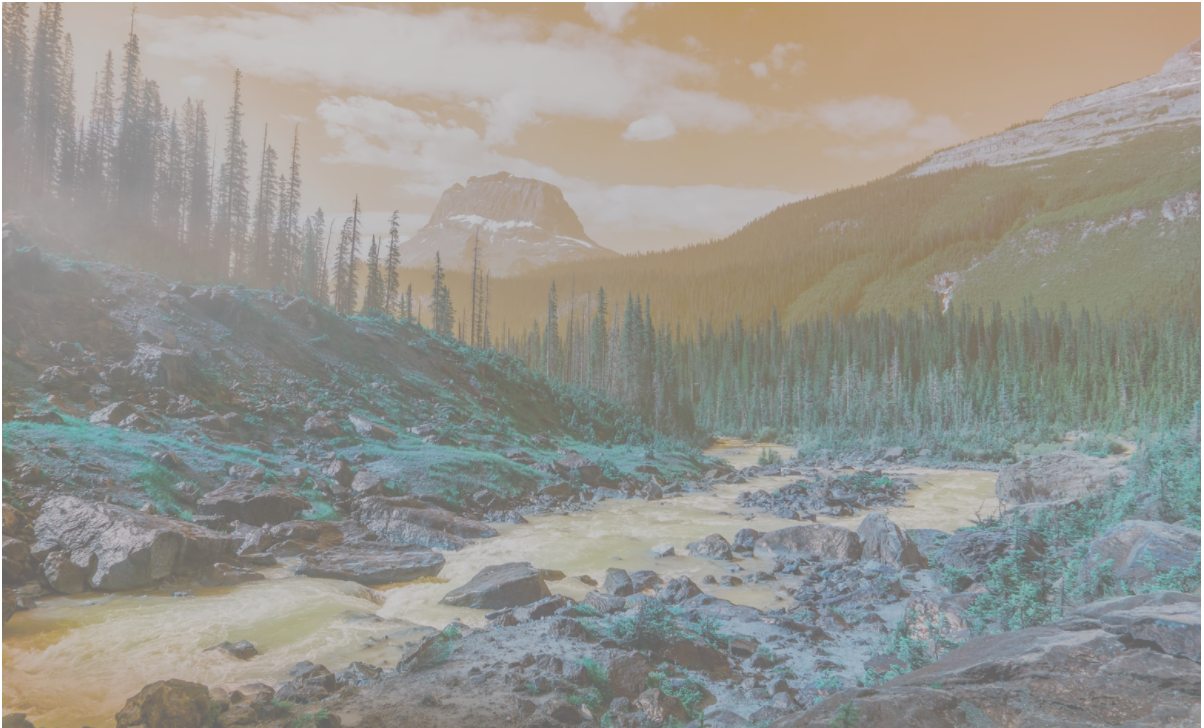
The colors are a bit off, aren't they? Shouldn't that river and the sky be nice and blue? The reason for this is that instead of RGB, OpenCV uses BGR (this was popular among camera manufacturers and software back in the day). This brings us to our first image operation: converting from BGR to RGB:
            img = cv2.imread(filename="c:/path/to/image.png")
img = cv2.cvtColor(src=img, code=cv2.COLOR_BGR2RGB)
cv2.imshow('image', img)
cv2.waitKey(0)
With the addition of a single line we convert the image so that we're left with the way it's supposed to be:

2. Filming your screen
Want to create an AI for a game or analyze video data? Then you might want to read your screen in order to analyze the images. It's quite similar to loading a file:
import cv2
import numpy as np
from PIL import ImageGrab while (True):
screen = np.array(ImageGrab.grab())
screen = cv2.cvtColor(src=screen, code=cv2.COLOR_BGR2RGB)
cv2.imshow('my_screen', screen)# press escape to exit
if (cv2.waitKey(30) == 27):
break
cv2.destroyAllWindows()
In line 6 we use PIL's ImageGrab.grab() method; this returns our screen. We'll have to convert it to an Numpy array so that OpenCV can work with it. Then, in the next lines, we do the same as before: convert to RGB and tell OpenCV to show us the image. In line 9 and 10, however, we tell OpenCV break out of the loop when we press the escape key; this is what waitKey(30) == 27 means. The last line is clean-up again.
3. Reading the webcam
Let's speed things up; the code is quite similar to the previous part.
            cap = cv2.VideoCapture(0)
while True:
              ret, frame = cap.read()
              frame = cv2.cvtColor(src=frame, code=cv2.COLOR_BGR2RGB)
              cv2.imshow('webcam', frame)            # press escape to exit
              if (cv2.waitKey(30) == 27):
              break
cap.release()
cv2.destroyAllWindows()
In line 1 we use an OpenCV method to capture our webcam. Then we use the read() method in line 3 to receive two variables: ret, which is True if we can read frames, and frame. Next, we convert our colors again (this time to gray), show the frame and wait for our escape key for cleaning up.
4. Reading a video file
Reading a video file is quite the same as reading your webcam, the only difference is that we have to pass the file location:
cap = vc2.VideoCapture('c:/path/to/my/file.mp4 Source: https://towardsdatascience.com/image-analysis-for-beginners-how-to-read-images-video-webcam-and-screen-3778e26760e2
0 Response to "How to Feed Webcam Image to Caffe C"
ارسال یک نظر